For: School administrator, Registrar, School secretary
School administrator
The school office: pupils and their parents, admissions, classes and the timetable, notices, and the school’s own settings.
Your home screen
Your Dashboard shows the school office’s day: what is waiting for a decision, and the term’s figures. The menu holds everything the office looks after, grouped: Students & Parents, Admissions, Academics, Communication and Administration.
Add a pupil
Open Students and press Add Student.
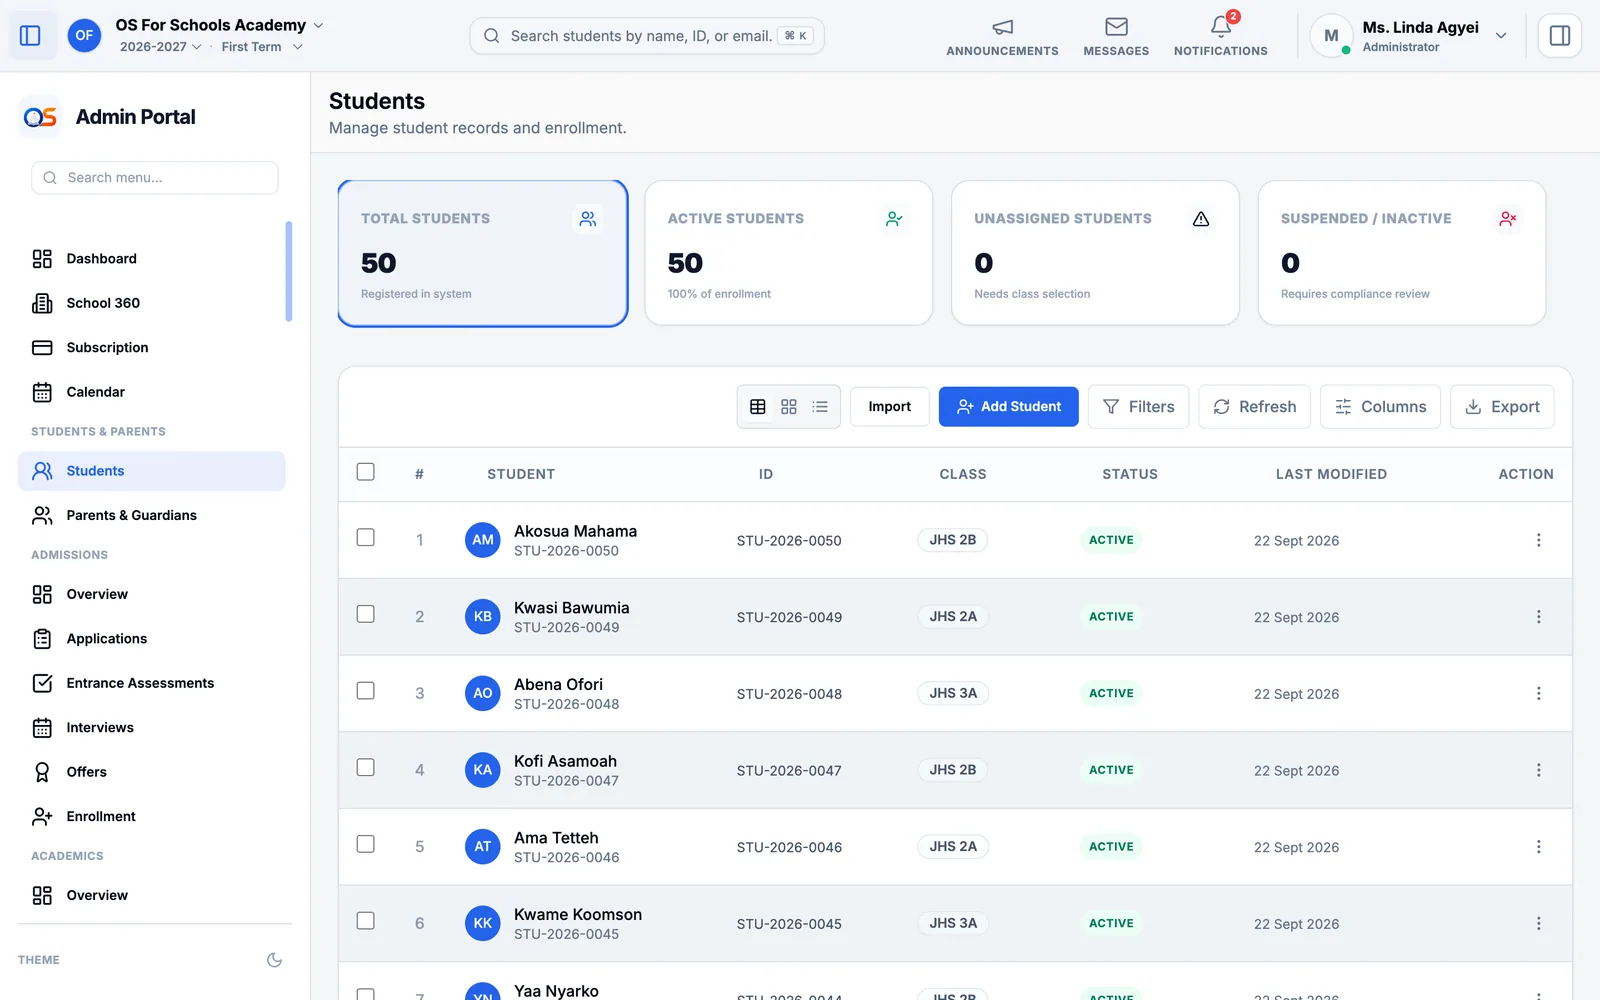
Say whether this is a new admission or a pupil already at the school.
Fill in their name, date of birth, gender and nationality, and choose their Academic Year and Class.
On Guardians, add each parent or guardian. Type a phone number first: if that parent is already at the school — a brother or sister is here — they are found and linked, not added twice.
Save. The pupil gets their student ID, appears in their class register the next morning, and their fees follow the class.
Parents and guardians
Parents & Guardians lists every parent with their children and how to reach them. Open a parent to correct their phone number, add a child, or give them their sign-in so they can follow their children’s attendance, homework, report cards and fees.
Admissions
An applicant moves through the same steps at every school: they apply, sit an entrance assessment, come for an interview, are offered a place, and are enrolled. Admissions follows each one.
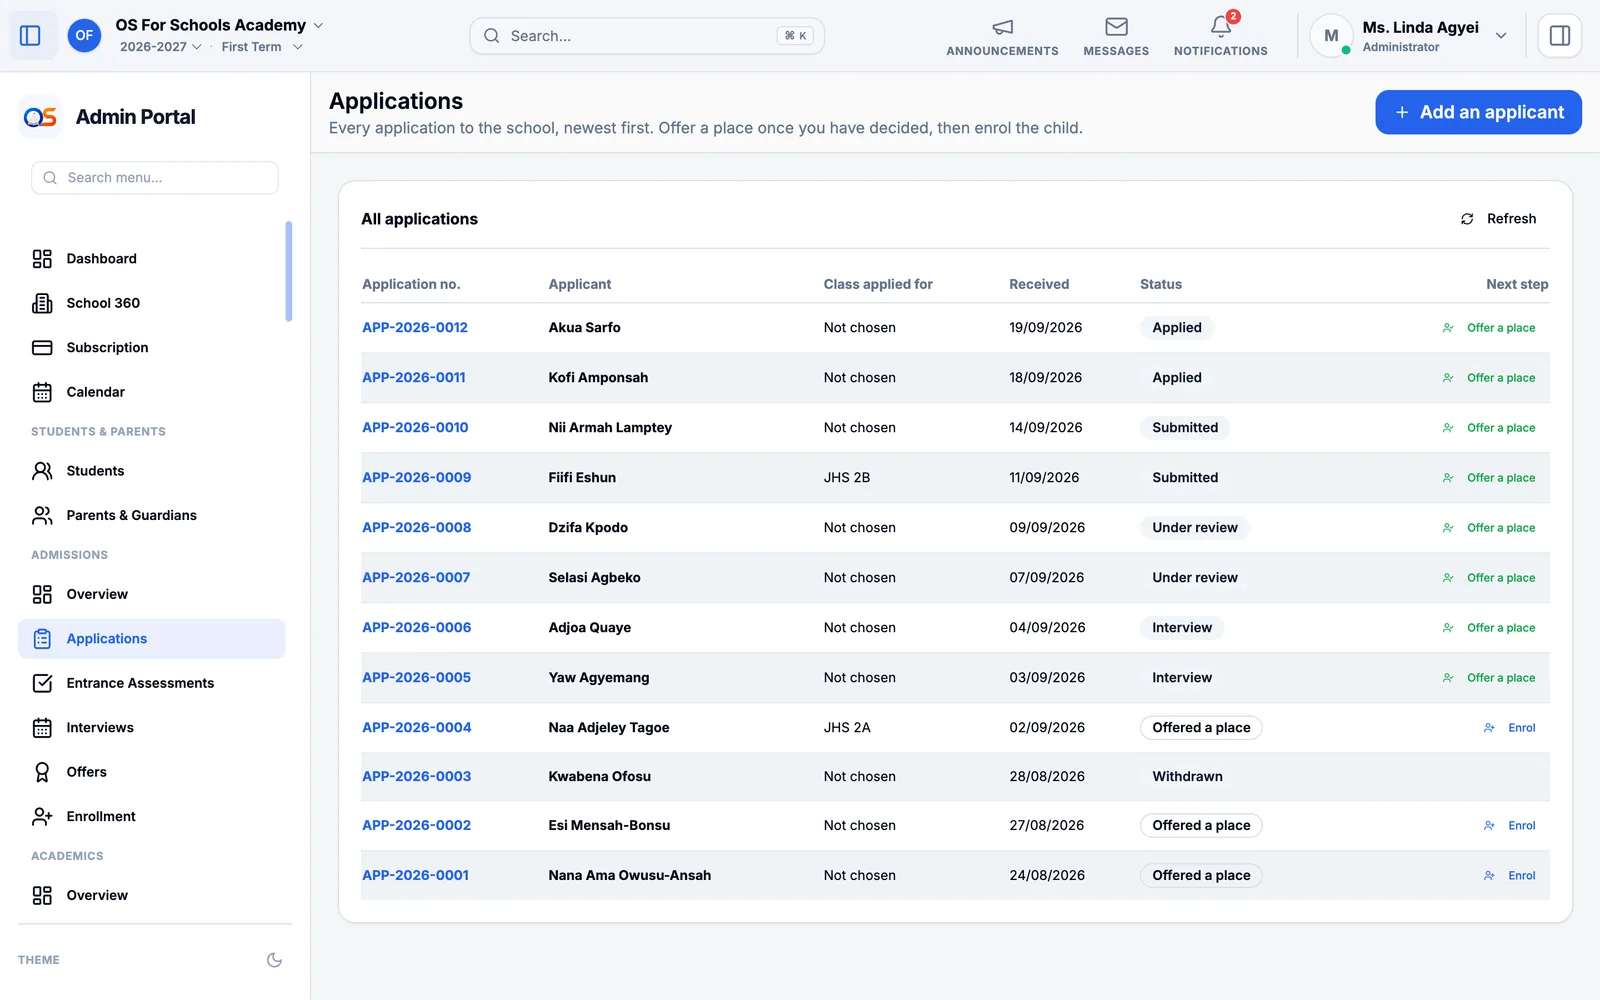
Open Applications to see every applicant and where they are. An application made on the school website arrives here by itself; press the button at the top to add one made on paper.
Record entrance assessment scores under Entrance Assessments, and interview times and notes under Interviews.
When the school decides, offer the applicant a place. The offer appears under Offers until the family accepts it.
Once accepted, enrol the applicant: they become a pupil, with their class and their parents already linked.
Overview shows the year’s admissions at a glance: how many applied, how many were interviewed and offered a place, and how many have enrolled.
Classes, subjects and the timetable
- Classes
- Each class, its class teacher, its room and how many pupils it has. Create the year’s classes here before admitting pupils.
- Subjects
- The subjects the school teaches, and the pass mark for each.
- Courses
- Who teaches which subject to which class — "English Language, JHS 2B, Mr. Boakye". Marks, homework and the timetable all hang on these.
- Timetable
- The school day’s periods and breaks, and each class’s week of lessons. OS for Schools warns you if a teacher or a room is booked twice.
Notices, messages and SMS
Write to the whole school, to parents, or to one class from Announcements — the headteacher’s guide shows how. SMS Credits keeps the school able to text parents: top it up before it runs out, especially before fees reminders go out.
The school’s own settings
- School Information
- The school’s name, address, phone, logo and type. It prints on report cards, bills and receipts.
- School Rules
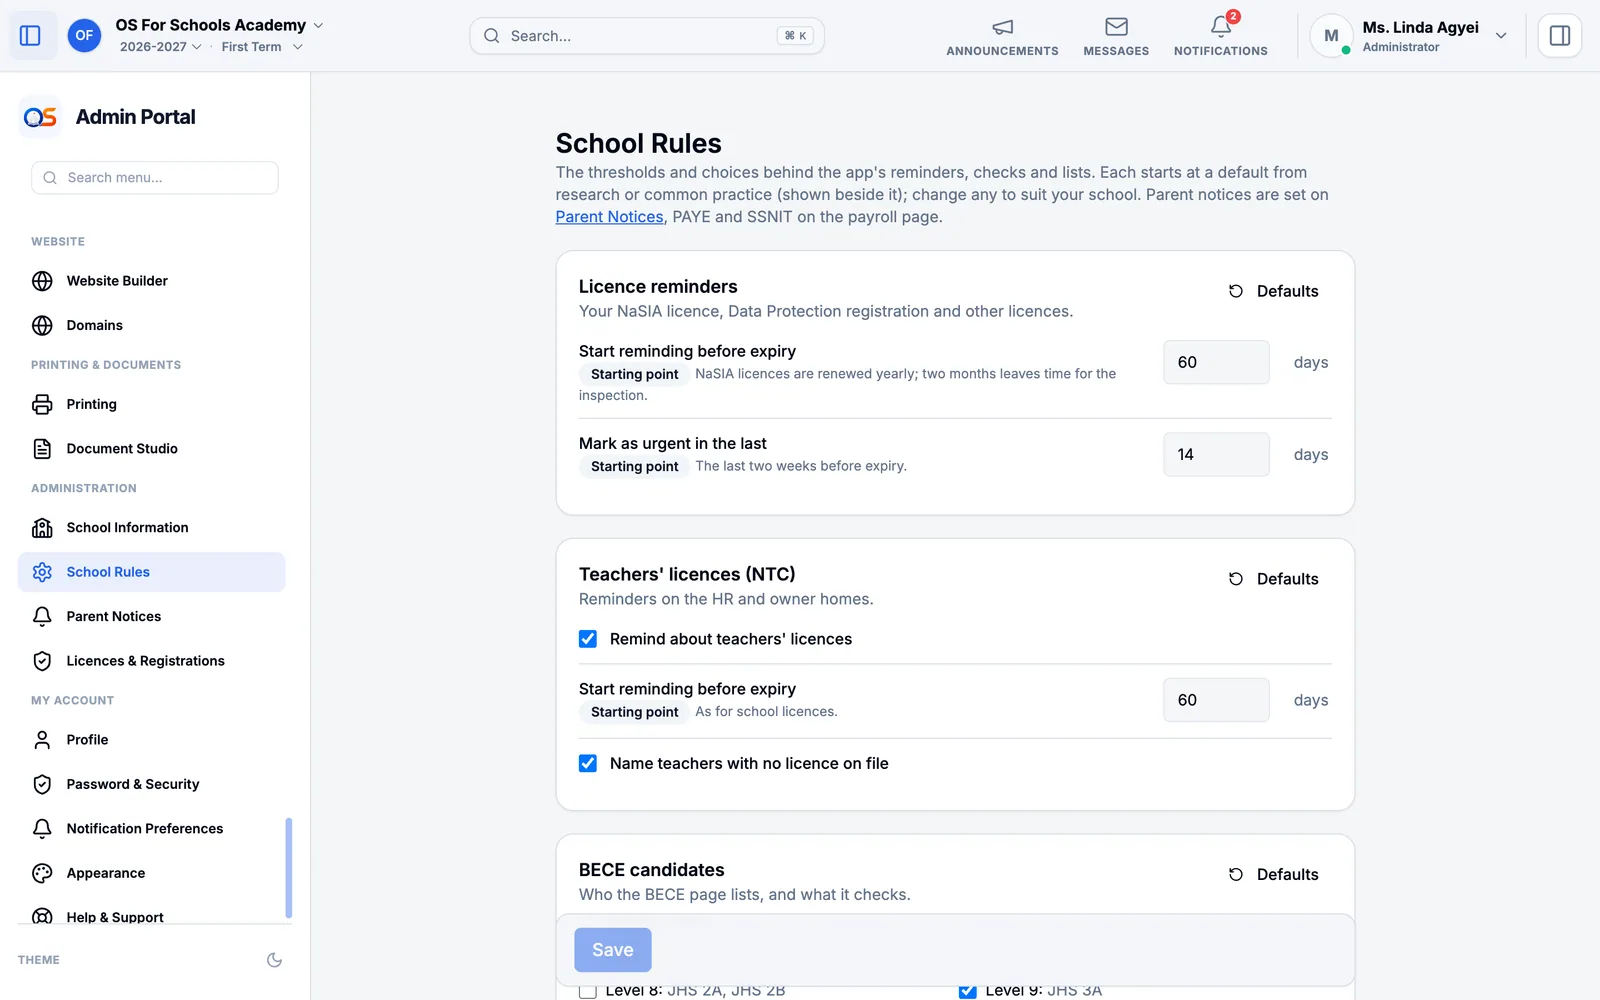
- Every threshold the school uses — when a pupil counts as at risk, when fees are overdue, how the BECE list is chosen — each with a sensible starting point and its source.
- Parent Notices
- Which messages parents receive by SMS and in the app, such as an absence alert or a fee reminder.
- Licences & Registrations
- The school’s NaSIA licence, Data Protection registration and others, with reminders before they expire.